How to Build a Bio-Filter
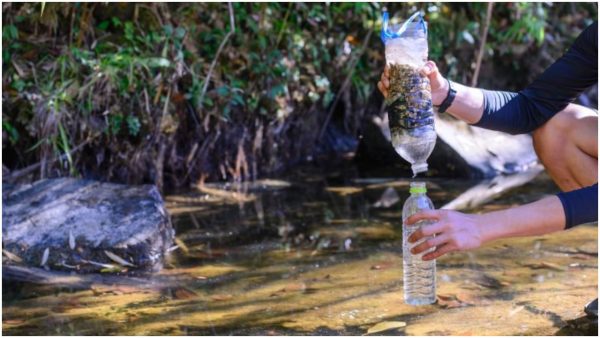
Everyone knows that water is one of the top survival priorities, but many forget that this means clean water. Gone are the days when we could just drink from a mountain stream and expect the water to be safe for our consumption. While that stream may still look crystal clear, the chances are that someone upstream of us has used it as a toilet and made the water unsuitable to consume.
This is why we all carry water filters in our backpacks and are ready to boil water at a moment’s notice. While both are inconvenient, they ensure that we won’t be picking up microscopic pathogens from the water that cause illness and possibly even death.
But what are we all going to do when our water filters wear out? There’s only one water filter I know of that claims to be good for a million gallons. That’s because it is back-flushable, which cleans it out so that it can continue to be used. All other filters are limited to 1,000 liters or less. Putting that into perspective: that’s a maximum of 500 days worth of drinking water if you don’t use that water for cooking, cleaning dishes, or anything else.
Of course, that also assumes that the filter is only being used by one person. If you’re trying to provide water for a family of four, that 500 days gets cut down to 125 – roughly four months. Then what? There are a lot of disaster scenarios that could require the ability to purify water for much more than four months. We need the ability to purify water on an indefinite basis without having to boil it all.
This is where the bio-filter comes in. Operating under much the same principle as a water treatment plant, the bio-filter can be counted on to last much longer, especially as bio-filters can be made much larger than the commercial filters you can find available. The larger the bio-filter, the more water it can purify in a day and the longer you can use it before having to clean it out and replace it.
Activated Charcoal – The Secret Ingredient

Activated charcoal is not the same thing that you use in a barbecue. However, it is made from the kind of charcoal that you can burn in a fire. The main difference is that activated charcoal has been chemically treated to open up its pores, which greatly increases its surface area. It is this large surface area, made of lots of nooks and crannies, that allows the charcoal to absorb chemicals and act as a trap for bacteria and other microscopic organisms.
You can buy activated charcoal or activated carbon (which is the same thing) from a variety of sources. I’d avoid buying the kind that is used in fish aquarium filters as it is really expensive. Rather, look online for a source that sells it in 25 pound bags. It’s actually rather cheap like that.
Your other option is to make your own. If you’re going to make activated charcoal, it’s easier to make it out of soft charcoal instead of charcoal that has been hardened by compressing it into briquettes.

Making charcoal is extremely simple. All you need to do is put small pieces of wood (preferably hardwood) into a metal container with a small hole in the lid. One of those five-gallon buckets that come filled with popcorn works ideally for this. Set this in the coals of your fire, and the heat of the fire will cause the moisture and hydrocarbons to outgas from the wood. As they leave the container, they will burn. When this burning stops you’ll know that your charcoal is ready to use.
Allow the container to cool, then empty out the charcoal. You’ll need to break it up into something slightly coarser than a powder. While larger pieces are easier to work with, the process is more effective with smaller pieces.

Make a 25% solution of calcium chloride, by weight, using purified water. Then mix the solution with your charcoal and turn it into a paste. This paste then needs to be spread out to dry in the sun.
Once dry, the charcoal should be rinsed to remove the calcium chloride, then baked at 225°F for 30 minutes. This will dry it and make it ready to use.
Making the Bio-Filter
Making the bio-filter itself is actually much easier than making the activated charcoal. The filter operates under the principle of multiple layers of filtration, much like a water treatment plant. Three separate filter mediums are used to remove progressively smaller particles:
- Gravel – to remove large sediment
- Sand – to remove small sediment
- Activated carbon (or charcoal) – to remove microscopic organisms and some chemicals
Any watertight container can be used to make the bio-filter, but you’re better off using a large container rather than a small one. Larger containers allow for more of the filter mediums to be used and increase the amount of water the filter can purify.

Some say that small containers, such as an inverted 2-liter soda bottle, can be used. While that is possible, chances are that the water will not be as well filtered as it would be if a larger container was used. The more charcoal the water can pass through, the more chance of capturing microscopic pathogens and eliminating them from the water.
I prefer making a bio-filter in three five-gallon buckets, providing one bucket for each of the filter mediums. However, it can be made in one bucket by layering the three materials in it. In either case, you’re going to need some means of the water escaping the bucket through the bottom without the filter medium running out as well.
This can easily be accomplished by cutting a hole in the bottom of the bucket and installing a plumbing fitting covered by screening material. It is helpful to put something above the screening material as well to prevent the weight of the filter medium from breaking the screen. An upside-down plastic cup with some small holes drilled into the sides of it works well for this.

The filter medium needs to be rinsed thoroughly before being loaded into the bucket or into three separate buckets. This is to remove any dust and dirt. Continue rinsing until the rinse water comes out clean. Then load the filter medium into the container or containers as so:
- Activated charcoal on the bottom
- Sand in the middle
- Gravel on top
If you are putting this all in one bucket, you’ll need to separate the layers in some way to keep them from mixing too much. This can be accomplished with either more of the screening material or by using fabric (nylon works well as it won’t deteriorate easily). If you are using separate buckets for each of the filter mediums, this won’t be necessary.
Please note that some people recommend making a five-layer filter rather than the three layers I’ve mentioned. The additional two layers are merely more sand and gravel. But these additional layers don’t do anything to further filter your water, so they are a waste of time. Not only that but they limit the amount of usable filter medium you can use, so it is best to leave them out.
Run a final rinse through your filter to remove any dirt and dust that has remained behind from your previous rinsing. Once the water starts coming through clear without any sediment, your bio-filter is ready to use and should provide you with clean, safe water to drink.
As with any filter, the bio-filter is not perfect. You will end up with some bacteria and other microorganisms making it through the filter. The idea is that it will remove enough so that your system can deal with what is left. Even commercial filters are not perfect and most will say that they remove 99% of all microorganisms. You can expect the same from your bio-filter.